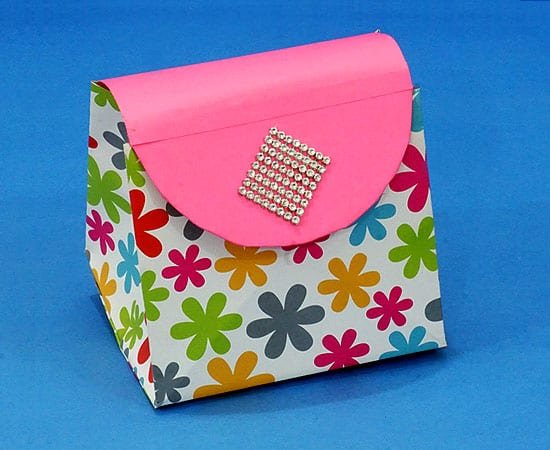
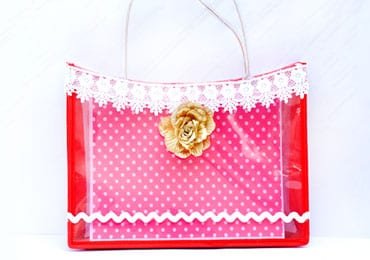
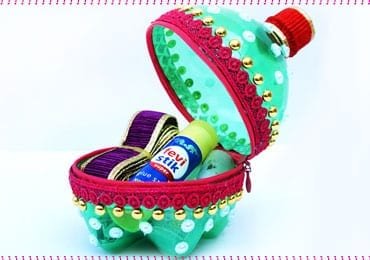
We have so many recyclable items in our house from which, the soapboxes are one. We throw these soap boxes into trash while we can make a cool and stunning use of it in preparing DIY crafts! The DIY crafts prepared from recyclable elements are simply awesome and thus, today we are presenting a cute small bag tutorial prepared form recycled soap box and craft papers!

This is a fancy small bag which can be used for storage, décor and as a cool toy for your kids! Make correct use of your time and recyclable elements and prepare such beautiful DIY crafts!
Things You Will Need To Make A Beautiful Soap Box DIY Craft

- Soap box
- Pencil
- Colours and brushes
- Cutter
- Ruler
- Craft glue
- Colour paper
- Printed decorative papers
- Velcro
- Pearl
- Marker
- Packaging tape
- Scissors
Steps To Make A Decorative Craft Using Soap Paper
Step 1- Cut the soap box

Let’s start by decorating the soap box. Get a huge soap box, ideally a pack for 2-3 soaps. This is an ideal sized box which will turn into a cute little storage box. Take the soap box and measure it using the ruler. Open up the box and make markings 1.5 inches inwards from the corners. Draw the line from the folding marks to the bottom of the box. Make the markings on both sides of the box and cut the box from the folding to the bottom.
With this, you will get both the sides trimmed and open. Keep the front and back of the box as it is. Now you will get 4 different parts of the box which you need to paste these parts using glue.
Step 2- Give the box a finishing look
Once you stick the bottoms, trim the extra paper in the front folding of the box. This way, the length of the folding will be equal from all sides. Now, measure the width of the top of both the sides. Mark the measurements and draw it on the main front folding of the box. Keep the folding of the same length and draw a line in centre using ruler and pencil.
With the help of scissors, trim the bent top of the front folding and with a cutter, slightly mark and engrave the ling drawn by ruler. This will make all 4 sides equal and easily foldable which turns into a cool storage bag! This will give you a wide frame shaped bag.
Step 3- Stick the sides of bag

Give the back opening of the box a little building look with the help of scissor and to attach all the sides, using glue. On the edges of all the 4 sides, apply some glue and stick the corners. Also use a packaging tape to seal all the sides. Now, just the top of the bag is open and all other sides are sealed. To make a handle of the bag, trim a small space form the top of the box using cutter. Make 2 small rectangular spaces which appear on the centre when you close the box.
Step 4- Decorate and cover the box

Anything looks incomplete if proper finishing and coating is not done. Thus, to get a beautiful covering, choose a bright colour paper. Take the measurements of the printed paper to cover the sides of the box. Stick the printed paper on the box and paste the printed paper on all the sides. Manage to cut the perfect sizes of the paper similar to the box measurements. On the top of the box with which the box opens and closes, we will apply colour paper while on the sides, we will use printed paper.
With the help of cutter, cut the small rectangular spaces on the colour paper which we made previously on the box.
Step 5- Make the handle of the bag

To make small and pretty storage bag, we will need beautiful handles. Cut the handles in a magnet shape and with the same measurement of the 2 rectangle spaces we made on the box. Make 2 same sized shapes with printed paper while one large sized handle with colour paper. The small printed papers will be used to top and decorate the colour paper handle.
On both the sides of colour paper handle, stick the small printed paper handles we made. Bend the ends of the colour paper handle, insert the handle in both the rectangle spaces and apply glue to the folded ends. Stick these ends with the top of the box and let it get dry!
Step 6- Give finishing touches to the bag

As we all know, the bags have beautiful buckles or buttons and so, we too will prepare a beautiful closing buckle for our small bag. Just like the handle, prepare a magnet shaped handle, but of small size. Stick this small paper on the front of the bag where we have a bulging opening. In the centre, stick a huge pearl which will work as a buckle for this small bag!
Here is a beautiful and fancy storage bag ready from a recycled soap box!

You can make such small and cool DIY bags from soap boxes which can be used as a small jewelry case, for storing hair accessories, threads and needles, money, buttons and tiny things which you don’t want to misplace!
You can make such beautiful storage boxes, purses, small houses from soap boxes and place it in your kid’s room! Try some interesting DIY crafts from soap boxes and show your creativity!
Article Tags: Best Out of Waste Crafts · DIY Bags · DIY Paper Craft · Small Bag Tutorial · Soap Box DIY Craft · Soap Box Recycled Craft


