Watch How to Make this Beautiful Floral Craft for Your Wall Decoration
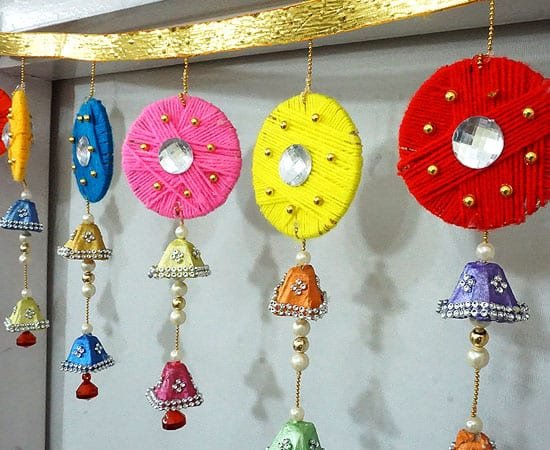
Wall Decoration Craft add beauty and charm to an otherwise dull and drab corner of a house. Handcrafted Decor tends to bring a zing to a house and give it a warm and a creative feel. Making multicoloured paper craft gets kids and parents to brainstorm as well as have fun together. This DIY Multicoloured Paper Craft is one such fun task.
If you are looking for more wall decoration ideas, then look no further, just visit Easy Paper Wall Craft making using Best Out of Waste material.
So, Let’s have a look at the video tutorial to get started for this beautiful wall decor idea!
Things You Need to Make this Easy Wall Decoration Idea
- Colour Paper
- Craft Paper
- A Pair of Scissors
- A Measuring Scale
- A Piece of Cardboard
- Craft Glue
- Pencil
Let’s Start Making the Craft with this Step by Step Procedure!
Step 1: Take a waste cardboard piece. Take a circular cut out from a cardboard and place it in the middle of the craft paper.
Step 2: Wrap and Cover the cardboard circular piece with the craft paper using craft glue.
Step 3: Take a pink colour paper, measuring scale and pencil.
Step 4: Take a 5cm x 4cm measurement on the pink paper and make a marking and cut it out.
Step 5: Start to fold and roll the square shaped paper to make a cone. Make multiple paper cones like this one as shown.
Step 6: Start sticking these cones in a circular wheel-like pattern on the craft paper wrapped cardboard and complete the first base layer of the craft.
Step 7: Now, take the colour paper of a different colour and cut a square of the same dimensions as above (5cm x 4cm) and make multiple cones in the same way.
Step 8: Paste these cones ½ inch inside the first layer as shown above.
Step 9: Time to bring in yet another different colour paper.
Step 10: Cut squares of the same dimensions and make multiple cones out of them as done earlier.
Step 11: Paste these cones on the second layer.
Step 12: We have reached the third layer of the craft.
Step 13: Take the fourth colour paper and repeat the same process of cone making and pasting.
Step 14: Take the yellow colour paper for the next layer.
Step 15: Repeat the above process with different colour papers until you reach right in the middle of the craft, down to the centre and give a finishing touch to the craft by pasting a pearl at the centre.
You have just succeeded at creating a beautiful DIY Paper Flower Home Decoration Craft that is ready to be decorated in your living room.
Have fun! And don’t forget to share your fun moments while creating this paper craft below in the comments section.
Happy Crafting!
Article Tags: DIY Paper Craft · DIY Paper Flower · DIY Wall Decor · Home Decor · how to's · Paper Craft · Paper Flower · Wall decoration Ideas · Wall Hanging


